Your Cart is Empty
Subscribe Items


In the crusade to minimize the appearance of fine lines and wrinkles, many rely on pricey spa facial treatments. Some turn to high maintenance filler and plastic surgery treatments – but we prefer to pursue potent plant based skin care for sustainable, deliverable anti-aging results.
For those looking to restore youthful glow and suppleness to their complexion, the first method you should try is at at-home self-facial. All you need are two hands and a high quality facial oil to perform these 7 simple facial massage techniques at home!

Facial firming massage is a soothing self administered therapy. Focusing on specific pressure points and facial muscles with simple finger motions helps to promote collagen production, increased blood flow, and lymphatic drainage. The lymphatic system exists to filter toxins and waste through the lymph nodes; stimulating drainage of this system helps to reduce puffiness, while ridding your body of harmful toxins.
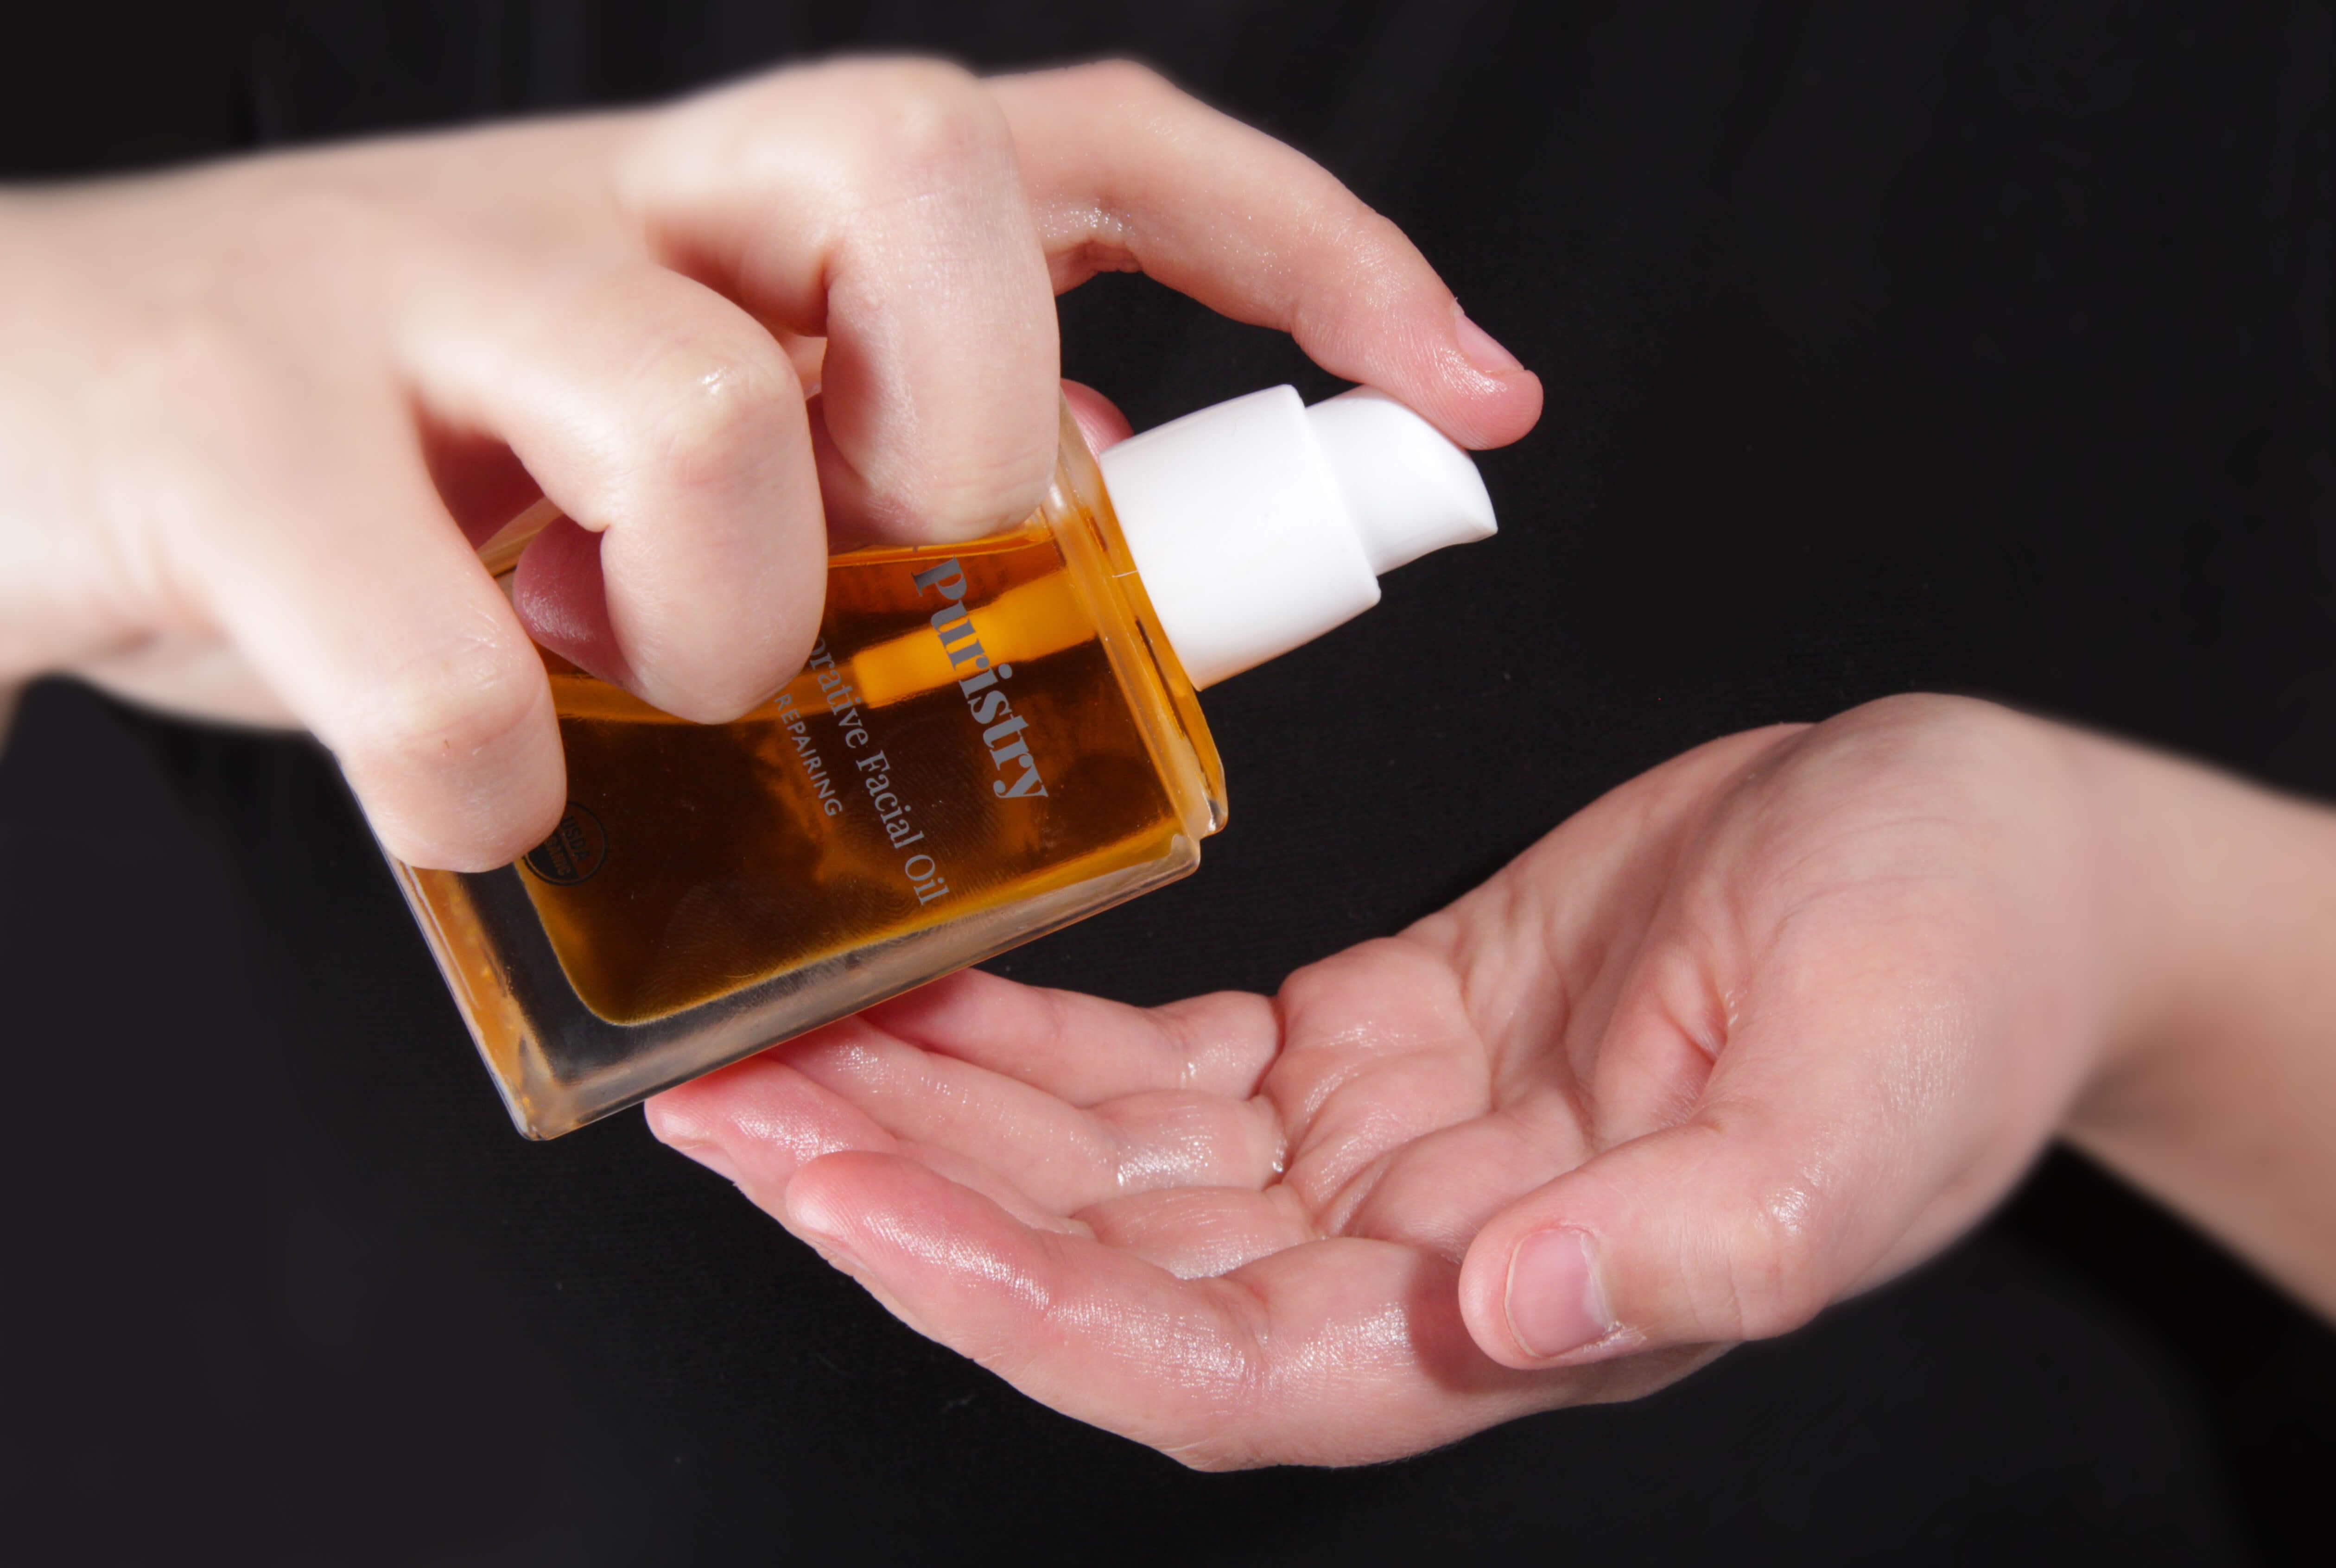
Our Puristry Facial Oil is the perfect medium for creating a therapeutic skin experience. This oil was created with a variety of luxurious, high quality oils from rosehip, pomegranate, and black currant oil. Joined by skin rejuvenating vitamin E, these oils were selected for their ability to promote firmness, elasticity, suppleness, and tone. While massaging your face, essences of lavender, bergamot, cedarwood, and vetiver will transport you to a tranquil mountain hideaway.
AT-HOME FACIAL MASSAGE TIPS
It’s important to set up your at-home environment for optimal facial massage benefits. Since water will help to prime your skin for maximum absorption of your facial oil, you’ll want to start in the shower.
First, cleanse skin with a hydrating facial cleanser.
When you step out of the shower, apply your skin plumping serum.
While the bathroom is still damp and steamy, perform your facial massage: first step, apply 2-3 pumps of facial oil all over the face.
The final step is choosing a massage technique that best suits your needs – see below for ideas!
For many of us, the forehead is the first place we notice fine lines starting to sneak up. The most common cause of forehead lines is sun exposure, but they can also be triggered by powerful natural forces like laugh lines or genetics.

The Technique:
Starting at the forehead, place your fingers in a parallel position above eyebrows. Use an alternating movement: one hand moving up, one hand moving down. This motion creates friction, meant to reduce the appearance of the horizontal lines on the forehead. Do these movements for one minute.
Nicknamed ‘the elevens’, these lines can sneak up as early as our twenties. They form when we’re deep in focus, squinting, or scowling – feel the patch of skin between your brows? That scrunched up skin is contributing to long term wrinkles, that will show up even when your face is relaxed.
The Technique:
The first technique would be to place your fingertips in between your brows. Using pressure, slide your fingers over your brows. This movement helps to pull the muscles outward, smoothing the area.
For the next method, place your thumbs above each temple to help brace your hands. Holding three fingers together, rub your forehead in small circular motions. Start from between your brows and move up and out as you go; do this for 60 seconds. According to M.D. David E. Bank, this technique “increases circulation to help the skin look taut, and stimulates collagen to reduce and prevent wrinkles over time".
If forehead lines weren’t the first to show up, odds are that under eye wrinkles beat them to the punch. Think of your delicate under eye skin as tissue paper, and handle it accordingly. This area is especially vulnerable to signs of aging like fine lines and wrinkles.
The Technique:
Make sure you have plenty of facial oil or eye cream on your fingers, to avoid pulling or tugging motions on the skin around the eye. Since this area is very sensitive, we need to make sure that our fingertips glide effortlessly over the skin.
Start at the inner corner of the eye and gently glide, with light pressure, to the outer corner. Continue around up to the brow bone until you are back at the corner of the eye. This movement helps to reduce puffiness around the eye area, and moving fingers in this direction helps to drain excess fluid in the area.
Repeat this movement a total of ten times, and increase pressure slightly after the first few rotations. For those prone to puffiness, this can be done both morning and night.
Pesky crow's feet are another culprit for the first visible signs of aging. Our dynamic facial expressions make it impossible to prevent these lines from appearing, unless you keep from smiling or moving your face altogether. We prefer the alternative: a gentle, skin firming massage to discourage depth and appearance of crow’s feet.
The Technique:
Use one hand to gently lift the brow area and make the skin taut. Using your ring finger, massage in small circles over the area where crow’s feet appear. Do this for about thirty seconds on each eye. After that, use your fingertips and gently stroke upward, alternating hands for thirty seconds on each eye.
Instead of relying solely on contouring to define and amplify the shape of your cheekbones, try this low maintenance approach. Massage work can exercise your cheek muscles, with simple massage motions that give cheeks a sculpted, more shapely lift.
The Technique:
Using your first two fingers, find the area directly under your cheekbone. Bring your fingers toward your nose. Starting from there, firmly push upward on the muscle of the cheeks, continuing along the underside of each cheek until you reach the jaw. This will help to give a more defined look to cheekbones, and will drain fluid buildup in the muscle tissue that contributes to puffiness.
As we age, another inevitable phase is watching the corners of the mouth droop downward. This happens as the muscles in this area lose strength – a perfect time to enlist the benefits of facial massage! You can improve the area around the mouth by conditioning the muscles, using firming massage techniques.
The Technique:
Place one index finger on either side of the mouth near the corner. Firmly massage in a small circle in this area, but make sure the pressure is applied in an upward motion. Avoid pulling down on the skin and muscles in the corners of the lips.
These fantastic DIY facial firming massages are super easy to perform with just two hands and a concentrated anti-aging facial oil. By following these at-home massage methods every night or a few times a week, you’ll be doing skin a huge service by helping to add firmness naturally. Have we converted you to the DIY skin pampering lifestyle? We think that facial exercises and even facial yoga are worth giving a try for firmer, more supple skin. Don’t forget to use plenty of facial oil or moisturizer to perform the facial massages, because we never want to pull or tug our skin! Happy pampering!
Comments will be approved before showing up.


Aman Bhosale
December 26, 2017
My hand two finger is facture i two finger joind not work please finger masag oil and c