
How to get the most from your at-home mask treatment
DIY face masking and at-home facials can be at great at home alternative to expensive spa treatments, and when done correctly, will leave you with a dewy post-spa look without ever having left the house. It’s important to properly prep and store the ingredients for your mask (for maximum absorption and nutrient benefits) and also essential to make sure you apply each step in the right order–and finally, follow up with the right post-care products! Absorption and protection are key considerations. Done correctly, you’ll be left with skin that’s less prone to breakouts, less congested, and over all in optimum health.
Here we’ve put together some tips to keep in mind when attempting at-home Face Masking:

Cleanse First
It may be intuitive, but sometimes a DIY face mask can have the look (and feel) of a cleanser, and trick you into thinking that it will do double duty as a cleanser and a mask. This isn’t the case. In order for your mask to work its magic on your pores, it’s essential that you cleanse first. We recommend a double cleanse, starting with an oil based product (because like attracts like) and following with a plant-based or clay based cleanser that will remove lingering cleansing oil. This will leave your face adequately prepped for maximum mask benefits.
Choose Ingredients for Your Skin Type
Depending on how sensitive you skin is, there are a number of factors you need to keep in mind. The first: how long should you leave the ingredients on your face for? If you have sensitive skin or skin prone to dryness, and you’re using naturally astringent ingredients like citrus extracts, witch hazel or tea tree oil, it’s best to keep ingredients on for as little as five minutes. If on the other hand you’re using soothing and calming ingredients like aloe vera, cucumber water or floral hydrosols, feel free to keep a mask on for as long as 20-25 minutes. The trick is to consider both the concentration and properties of the active ingredients, as well as your own skin tolerance.
Part of this means paying attention after you’ve applied your mask. Feeling any tingling, itching or burning? In small amounts and at tolerable levels, tingling can indicate that an active ingredient is penetrating your pores. However, any discomfort caused by a DIY at home facial usually indicates that your skin is having an allergic reaction. If this happens, immediately wash off and remove your mask, and apply an anti-inflammatory ingredient (coconut oil can work well on redness and inflammation).
The takeaway? Use ingredients that suit your skin type!

Consider Texture
Oftentimes a DIY face mask calls for the addition of a plant-based organic exfoliant–usually ingredients you can find in your kitchen. Some great exfoliants include raw oats, turmeric powder, brown sugar, and sea salt.
But be careful! when using exfoliants, make sure to grind them yourself so that they aren't too large and abrasive–and be mindful when applying an exfoliant. It’s never advisable to harshly rub a textured product into your skin. Harsh friction will leave you with redness and damage–rather opt for gentle motions, and avoid opening any active blemishes.
How to Store Your Mask
Treat your mask like fresh produce: only keep your mask for a few days (in an airtight container), unless you plan on implementing a preservative into your recipe. And if a mask formula contains anything perishable, it need to be re refrigerated. This includes any fresh fruit or vegetable purees or juices, vegan yogurts, or any nut milks (which can have ultra soothing effects on your dermis, but which need adequate preservation). Masks that are based simply on herbs, spices, plant and flower extracts, essential oils, carrier oils, honey, vinegar, oats, or other non-perishables are absolutely fine to leave on the counter.
Mask After-Care
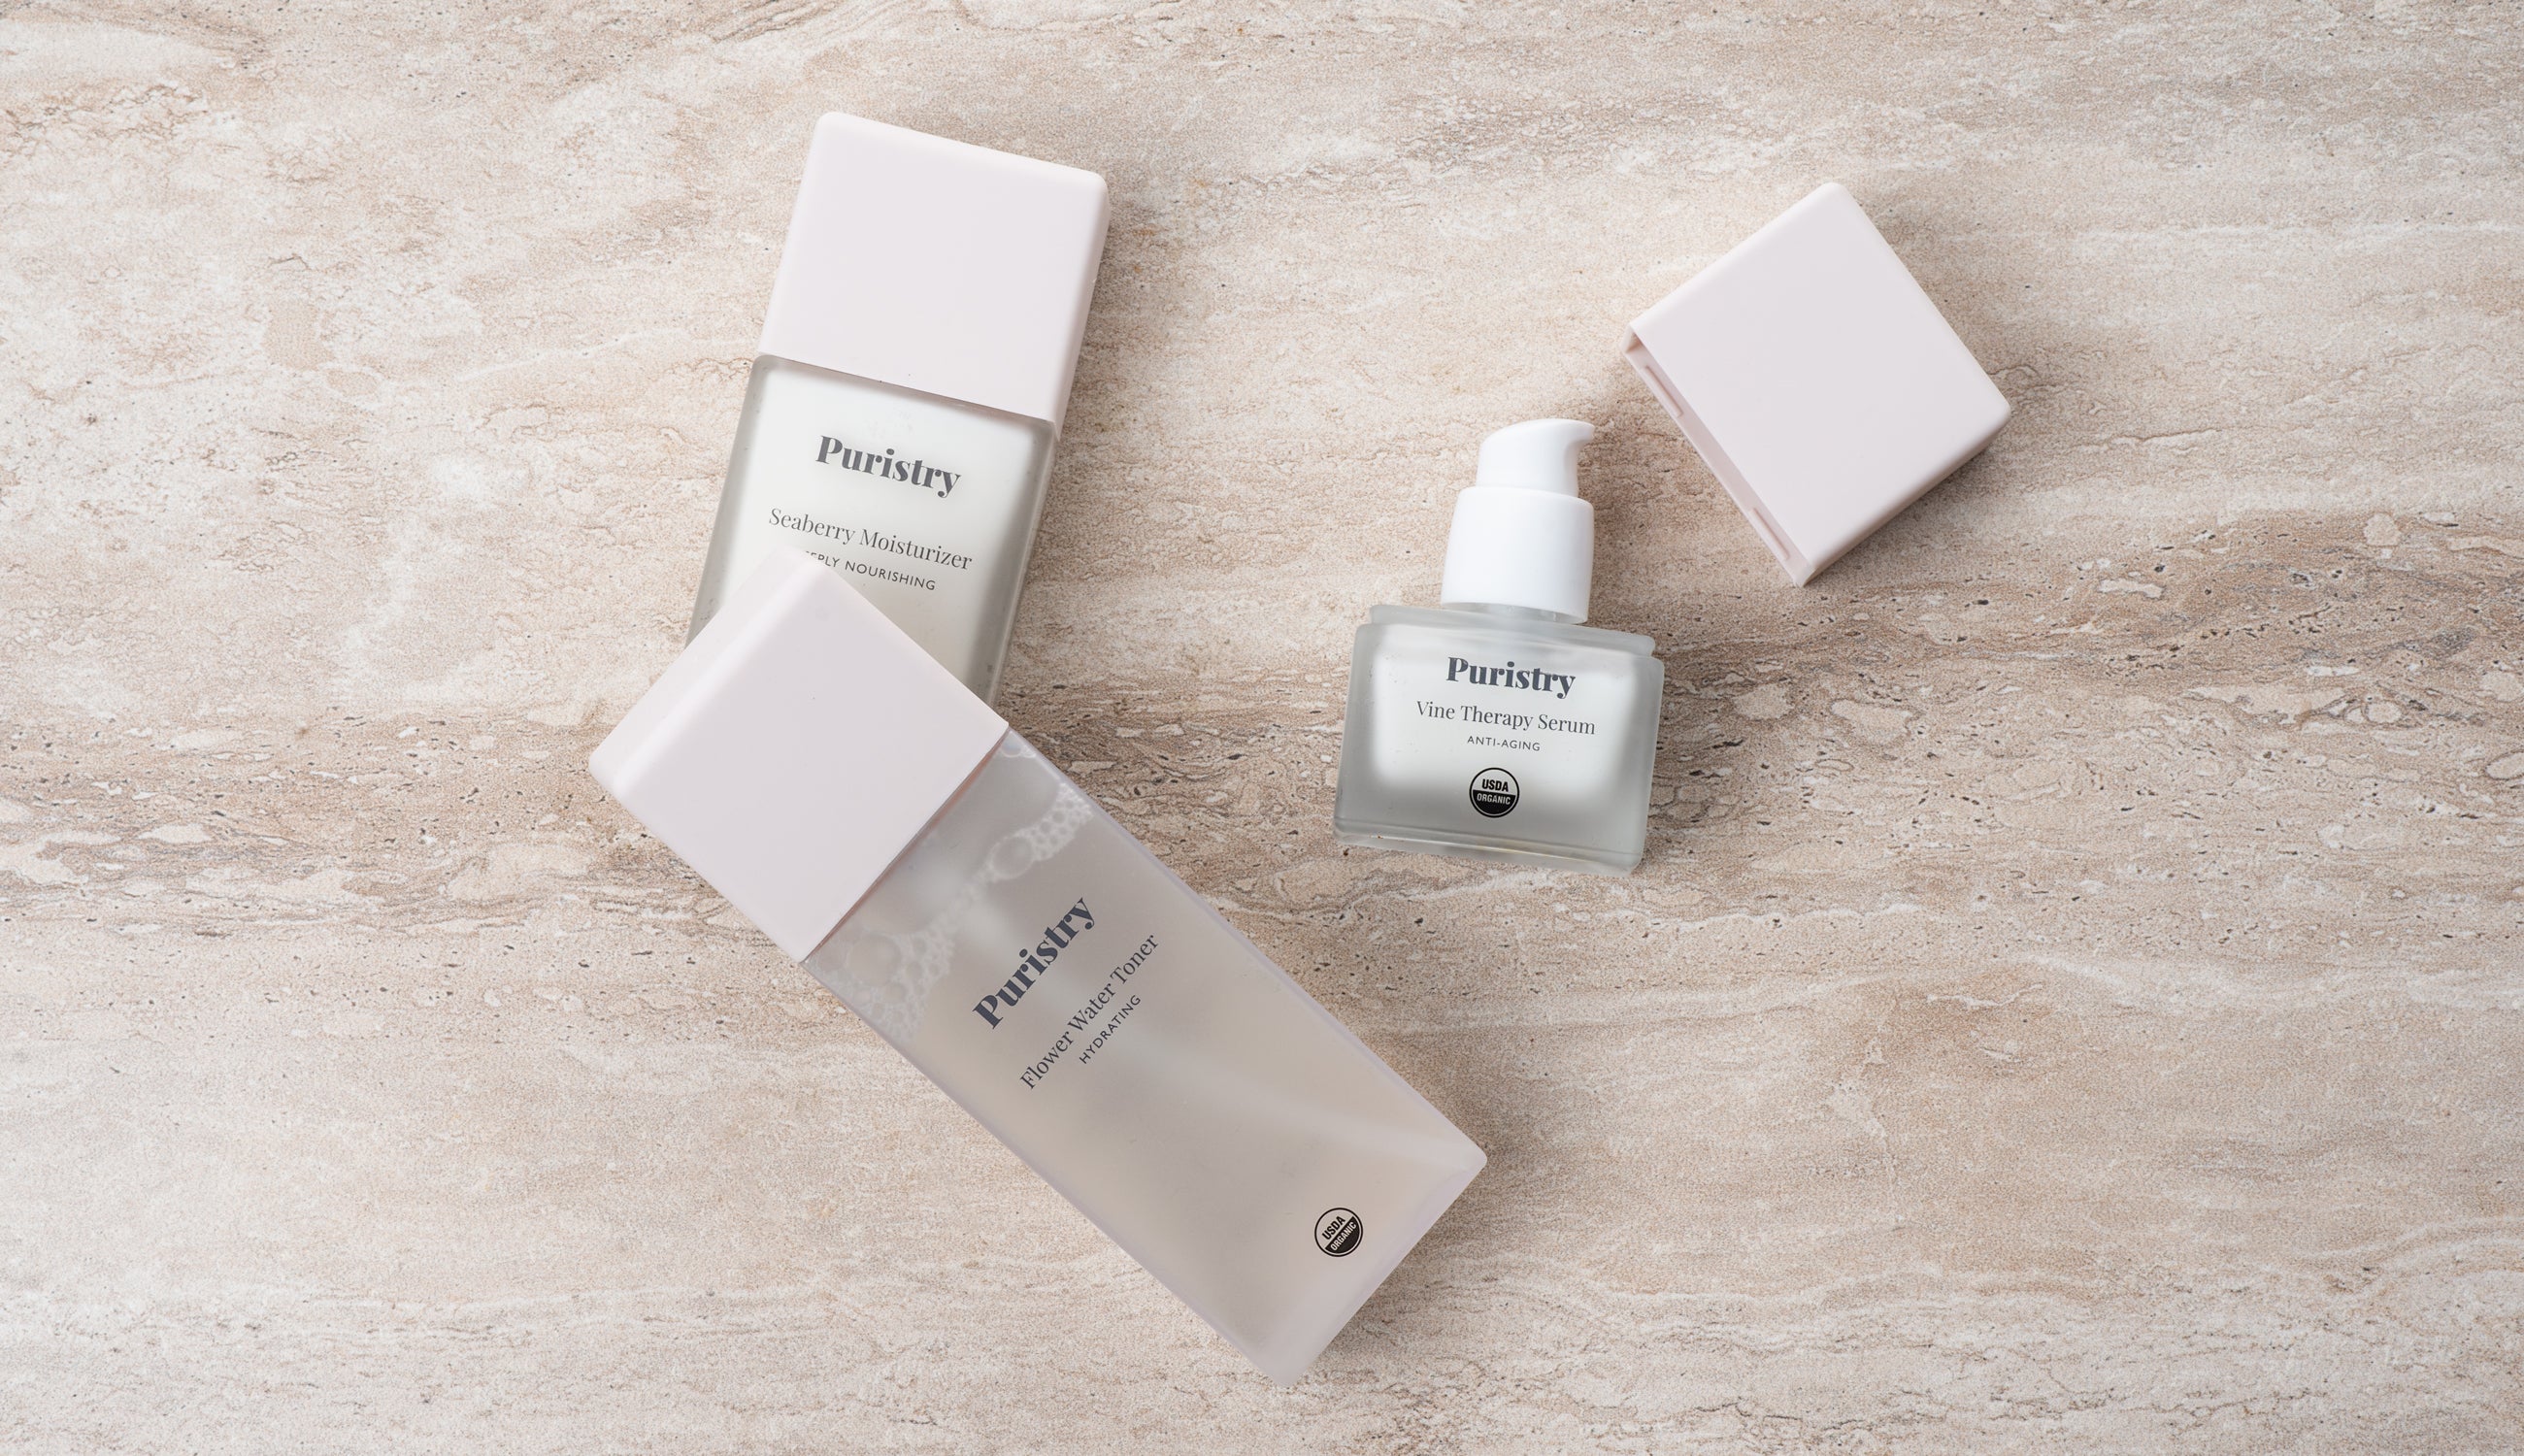
After care is essential, as the window of time after you give yourself a DIY Face Mask is when your skin is best equipped to absorb active ingredients and reap maximum benefits. Post mask removal, the first thing you should do is apply a toner–an H20 based light hydrator made up of molecules small enough to absorb deep into the pores. When pores are open (after the application of an exfoliating mask) a nourishing toner is most effective. Next apply serum, or any concentrated product with a potent shot active ingredients like glycolic acid or plant derived retinoids.
The last thing to do in an at home facial? MOISTURIZE, to lock all of the nourishing ingredients in, and protect you epidermal barrier from allowing in toxins and pollutants. Try Puristry’s Seaberry Moisturizer or apply a DIY moisturizer of coconut oil and vitamin E.
For more ideas on at home Face Masks, peep our Homemade Face Mask Recipe roundup.
0 comments